

It's been a while since I (Venise) blogged. When it comes to our strengths Belinda is the stronger writer so I generally let her shine on the blog while I dig in the dirt. But, I am excited to share some gardening tips with you so I taking a break from the dirt to try to put some words on a "page". Since Ross and I have been feverishly working to rebuild our raised garden beds and get everything installed in time for the busy growing season it is a great time to share 5 tips for building raised garden beds.
Leave enough room for your equipment
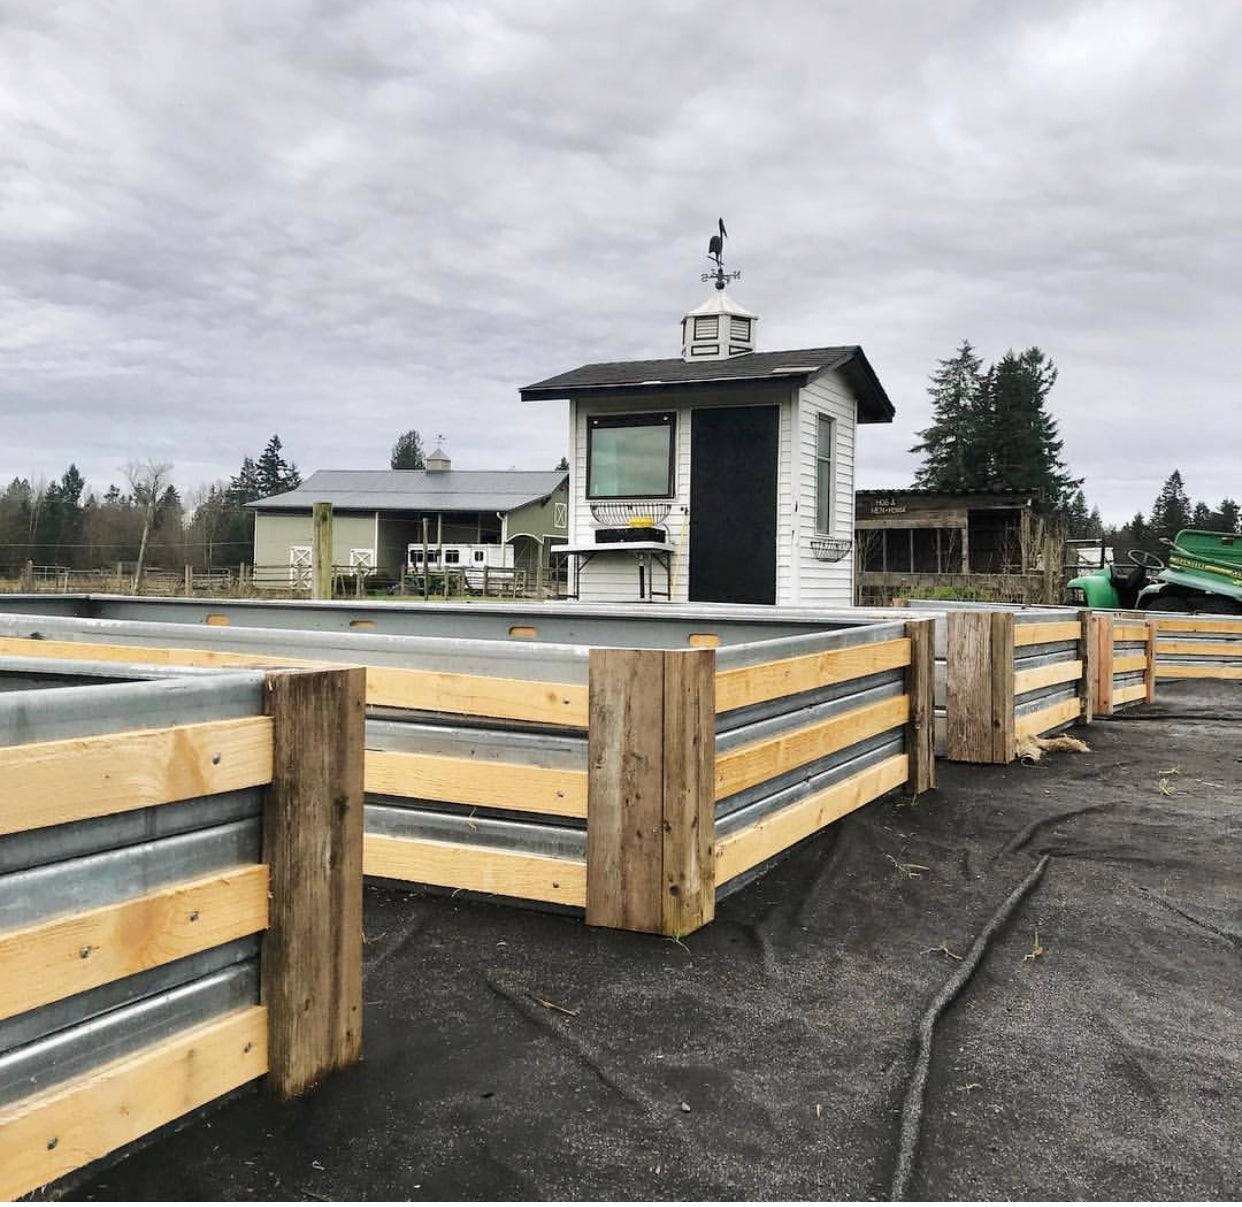
I am making this my first tip because if you skip over the rest of this post and learn nothing else, I hope you remember this. This was the BIGGEST mistake I made the first time I built the beds in our cocktail garden three years ago. I built four beds with only 3' in between the rows. While it was enough room for a wheelbarrow, it was way too small for the John Deere Gator that I use more than any other piece of equipment on our farm. This time when we laid out the beds, my number one priority was to give myself plenty of space so that every rolling piece of equipment we own can access each bed. It means we have what feels like a lot of wasted space, but let me tell you, weeding via mini excavator is WAY easier than weeding by hand! So, regardless of whether you have a simple wheelbarrow, a lawn mower or a big tractor, make sure you measure the full width of your gardening equipment and leave it plenty of room to get around. If you hope to one day upgrade your equipment, lay out your beds with the upgrade in mind so you don't have to rip them all out and rebuild like we did.

Don't forget about weed control outside of the beds
Planting in raised beds is a great way to control weed pressure. The walls on the bed help to keep weeds from creeping into the planting area. But don't think that just because you build a wall that those weeds won't find their way in. The first time we built our beds I only laid weed fabric in the beds and in between the beds, but not on the outer perimeter of the beds. It wasn't long before the weeds on the outside of the beds were taller than my beds and dropping all their ever-loving weed seeds into my lush, organic soil. In three years time my beds had been taken over by the weeds and I was pulling out more hair than weeds. By the end of the third year I was sure that if my husband didn't bulldoze them immediately I was going to lose my mind. Don't risk your sanity, lay the weed barrier far and wide.

Use materials that will last
Our first beds were made of cedar posts, fir 2x6 rails and metal roofing in between. It worked, but the metal roofing started bowing and the untreated boards started rotting after the first year. In hindsight I am happy we didn't spend more money on the materials because I ended up ripping them all out after just three years, but this time I made sure my beds will last forever (because I am not sure I will ever be able to convince Ross to build them for me again). In true Cunningham fashion we probably overdid it in the engineering of these beds, but they will last forever. We used 2x6 metal studs that a friend helped us get for free and Ross spent many late nights in the barn welding them together. I recognize that the normal cost of metal studs put them out of budget for most people, but if you do happen to stumble upon metal you can use to build your beds I would highly recommend it. They last way longer than wood and the metal helps heat up the soil which helps speed seed germination. Regardless of what you use think about how it will hold up over the years because it can be incredibly frustrating to put all the hours into building the beds to see them look like crap after a single season.
Size Matters
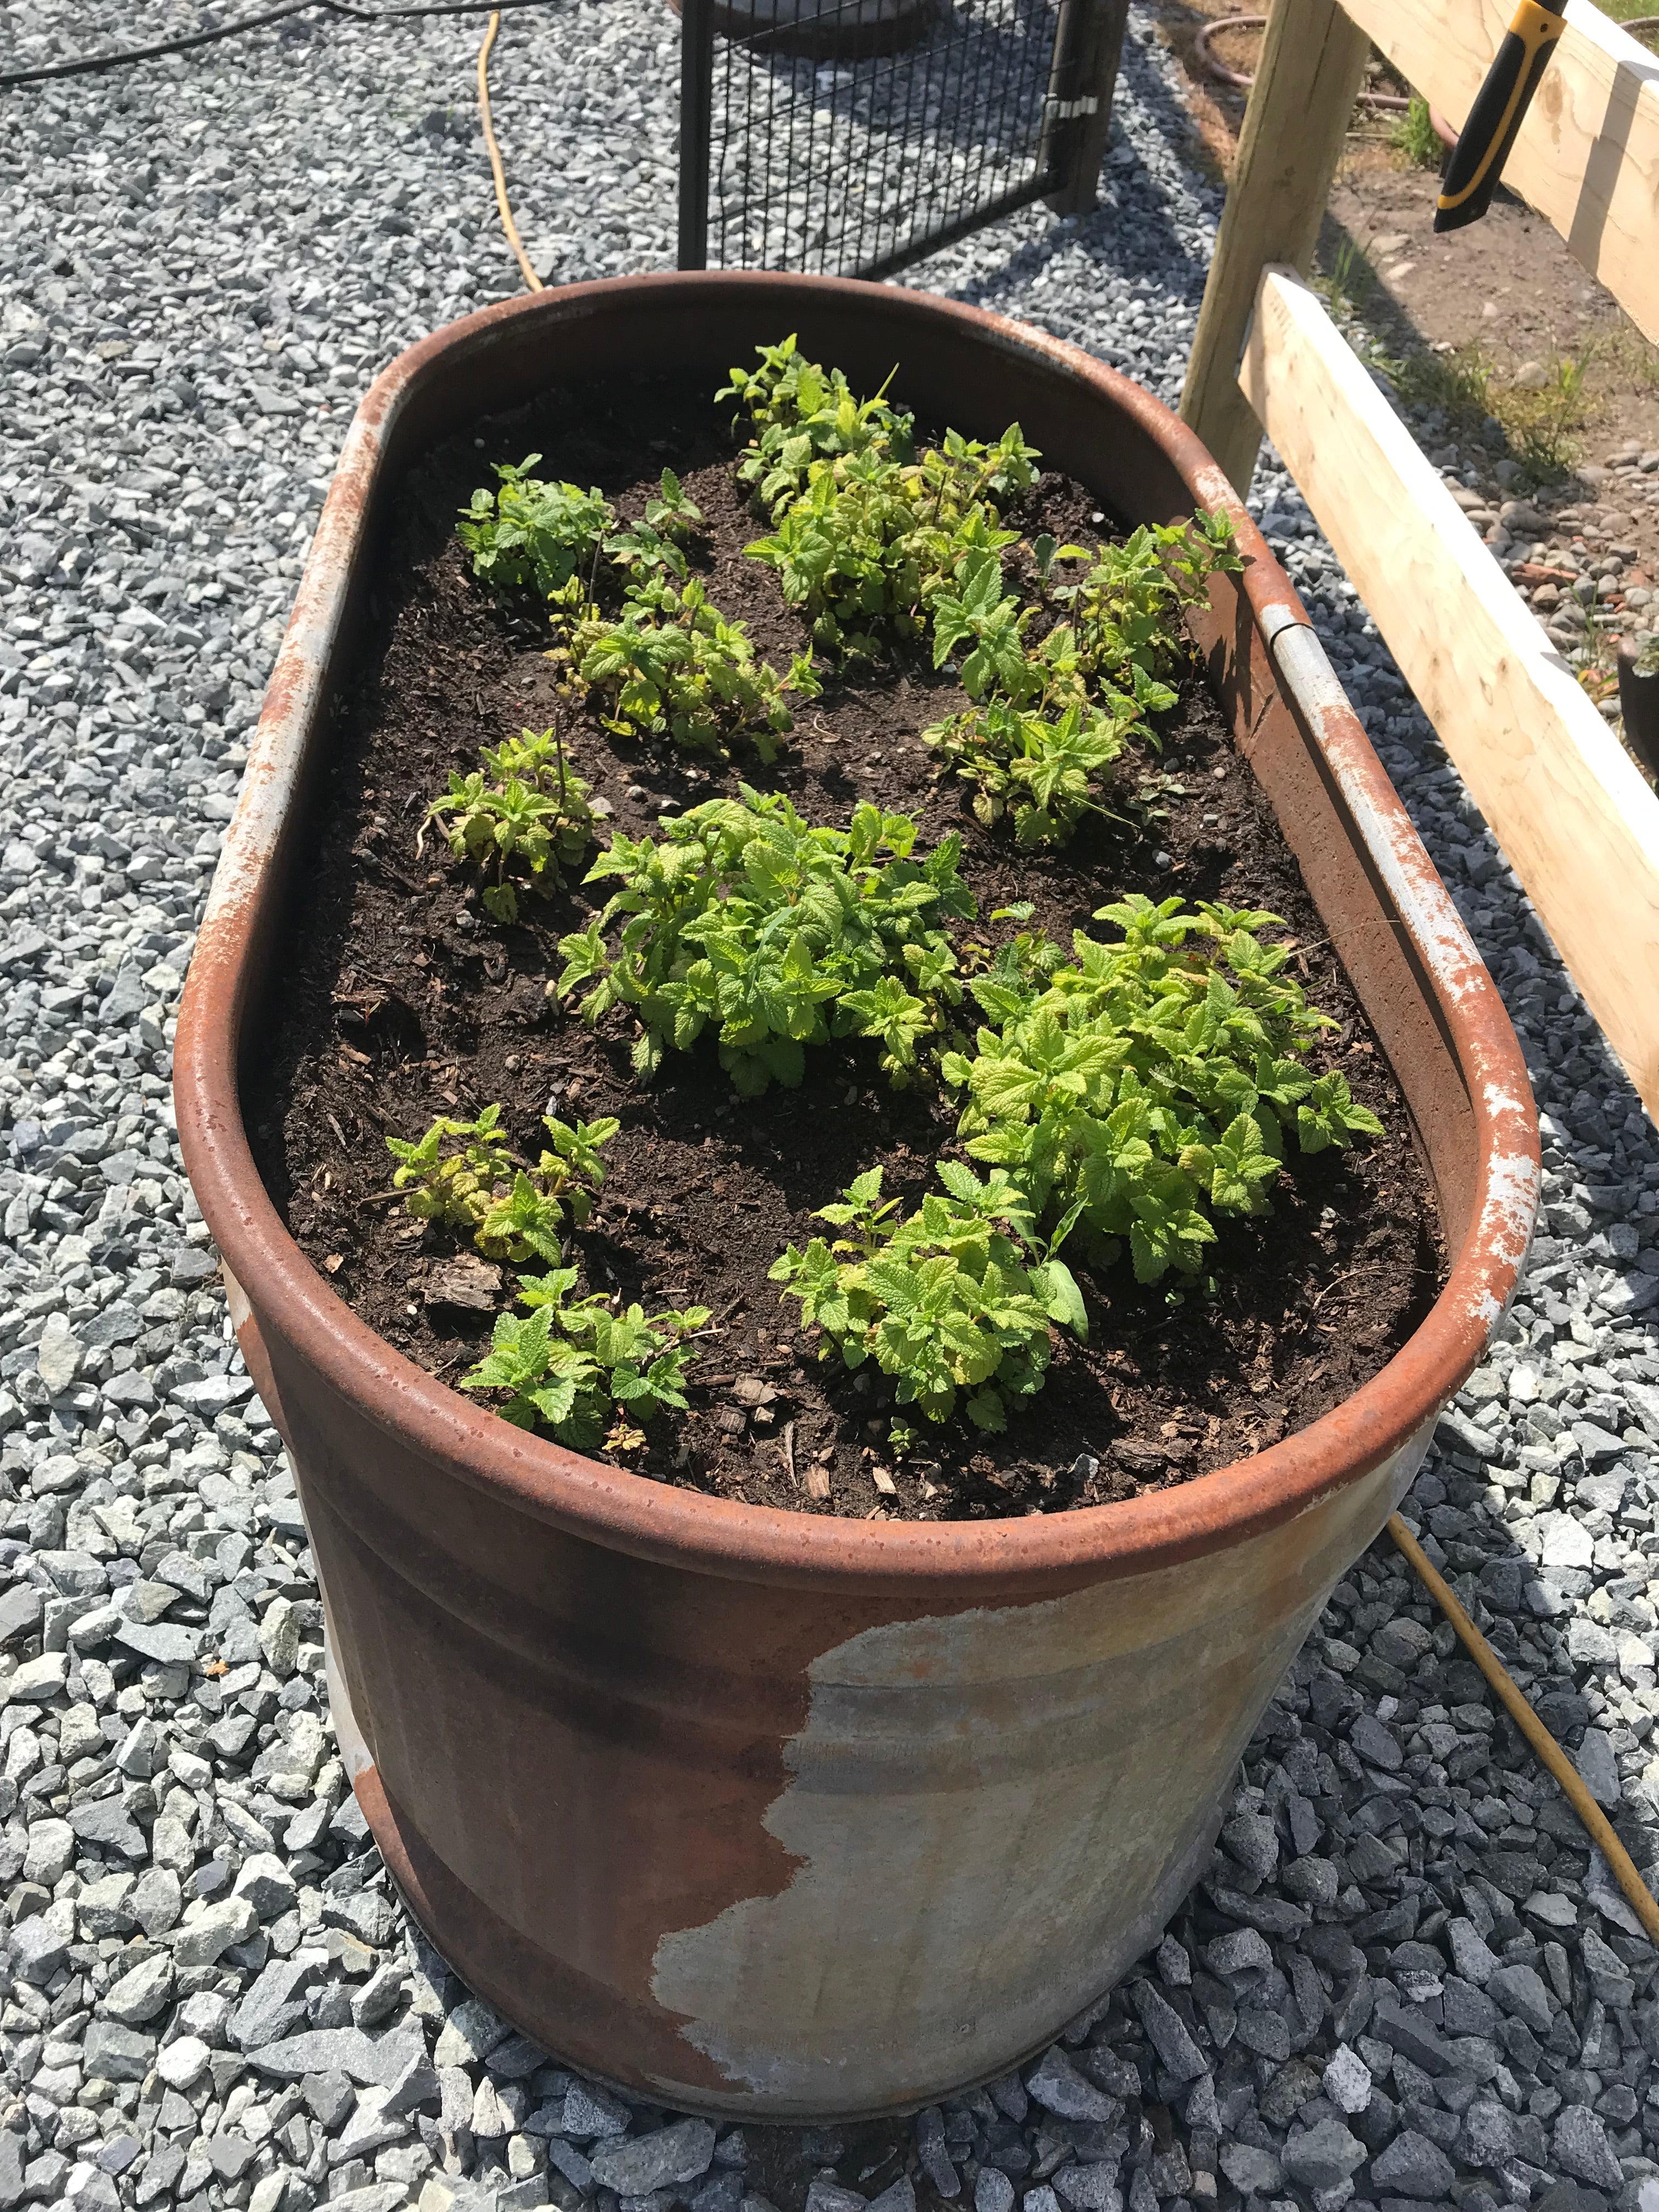
While you may be tempted to go big or go home when you start planning your beds, don't. I did the first time and it meant I spent way too much time inside the bed trying not to step on the plants harvesting my crops. You should be able to reach the middle of the bed without getting inside the bed. I suggest measuring your arm and not making it any wider than twice that length. Using smaller metal containers or old water troughs is also a a great way to create raised beds.
Start with a clean slate
When it comes time to fill your beds with dirt, be picky. You have put so much time and energy into making the beds and it will be tempting to just fill it with any old dirt, but don't. Ask for local recommendations on where to buy dirt. The real gardeners will have tried a couple of companies and have their favorite. Take their advice. For us, this is always the most expensive part of adding a new bed to the farm but one I am unwilling to compromise on. We use a mixture of sterilized digestate from a local dairy and screened top soil from the same place every year. At the end of the season after you clean out your beds, cover them with a dark plastic so that you can protect your dirt from the air-born weed seeds over the winter and can start with a clean slate next year.

Also in Blog


Holiday Hootenanny at the Soda Shop 2025
The holidays have hijacked the Simple Goodness Soda Shop, a family friendly cocktail cafe in Wilkeson, WA, with this year looking jollier than ever for the annual holiday tradition- despite a town in crisis. This year’s plans may come as a surprise in a year that has rocked the small town, after the permanent closure of the Fairfax bridge in April reduced tourism and business revenue by up to 50%.


 blogged. When it comes to our strengths Belinda is the stronger writer so I generally let her shine on the blog while I dig in the dirt. But, I am excited to share some gardening tips with you so I tak...&media=//simplegoodnesssisters.com/cdn/shop/articles/IMG_7898_600x.jpg?v=1614806698)